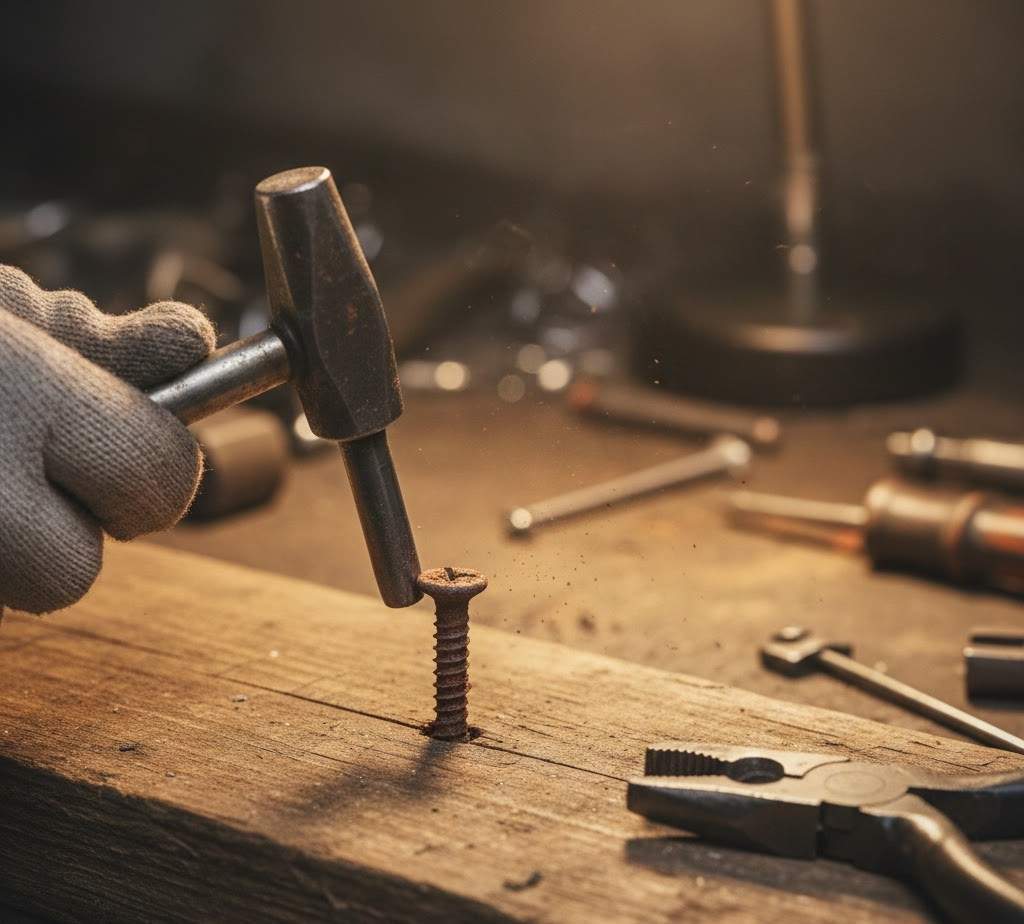
You’re fixing something but then suddenly you end up with a headless screw and you don’t know what to do or how to take it out. Well, this is a frustrating scenario.
Then you end up searching for how to remove a screw with no head without a drill.
But no worries, you’re not alone in this.
Headless screws are frustrating as there’s nothing to grip onto.
Forcing them out often makes the problem worse. As an Interior designer, I have seen this happen during furniture repair, small DIY fixes, and even simple home improvement jobs.
The question I hear most often is how to drill out a screw with no head, especially when you don’t want to damage the surface.
This guide is all about smart, no-drill solutions that I have personally used over the years.
I will walk you through some of the best practical Screw with no head removal ideas and help you understand which method works best in which situation.
What is a Screw With No Head?
A screw with no head is exactly what it sounds like.
The top part of the screw that usually holds the screwdriver grip is damaged or completely worn out. When that happens, turning the screw becomes very difficult.
Many homeowners land on ways to remove a screw with no head without a drill because the usual tools are of no use.
In most cases, a screw usually becomes stripped first and that damage builds up over time.
Over-tightening puts extra pressure on the head, while worn or incorrect screwdrivers slowly round off the grooves.
As the grip weakens, the task at hand quickly turns from drilling a screw to hang a photograph.
Rust and corrosion also make things worse.
Moisture eats away at the metal and weakens the head further.
Understanding these causes can help you choose the safest methods to drill out a screw with no head, without harming the surface around it.
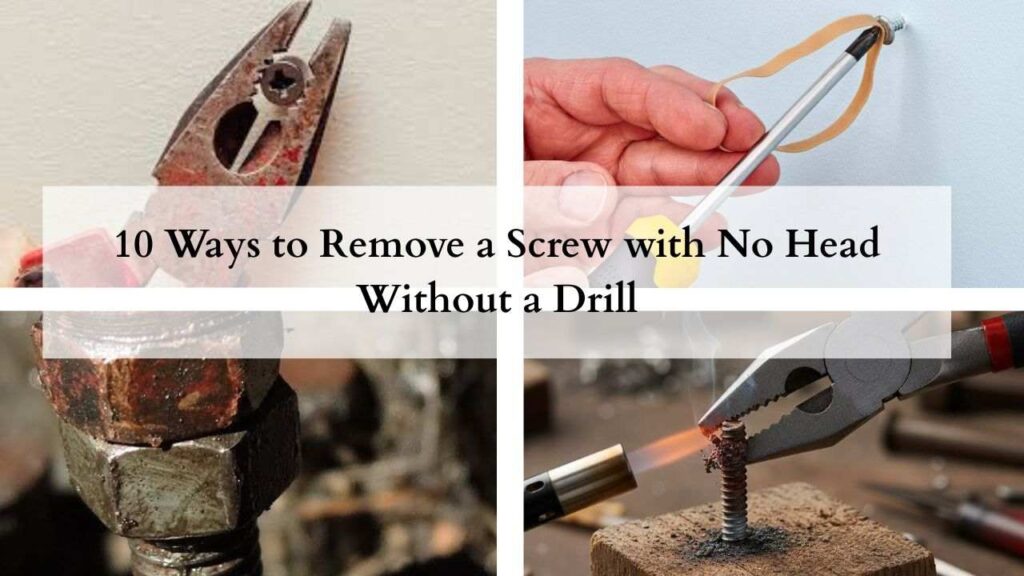
10 Ways to Remove a Screw with No Head Without a Drill
Dealing with a screw that does not have a head is very frustrating.
Top it all with if by chance, your electric drill stops working, then you are screw-ed (pun intended!).
The good news is that you still have some practical options to work with, using simple tools and things you may already have at home.
Don’t worry, as now I will give you 10 simple ways to remove a screw with no head without a drill.
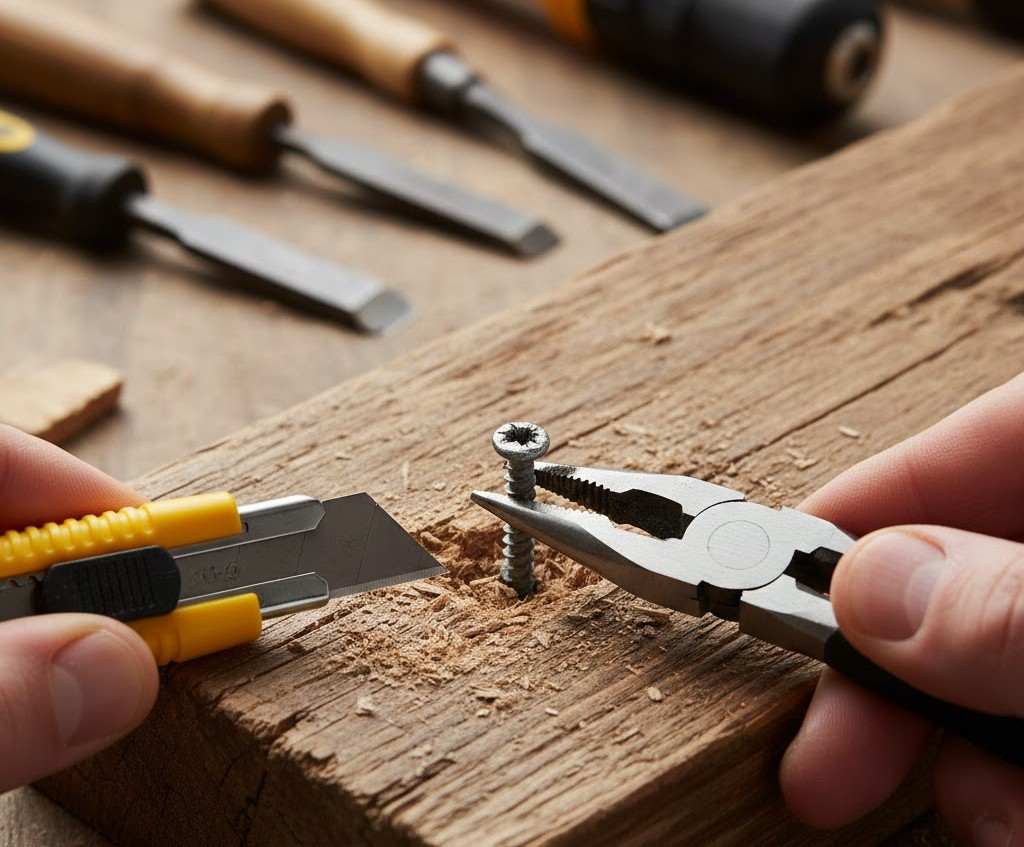
Locking Pliers on Exposed Shaft
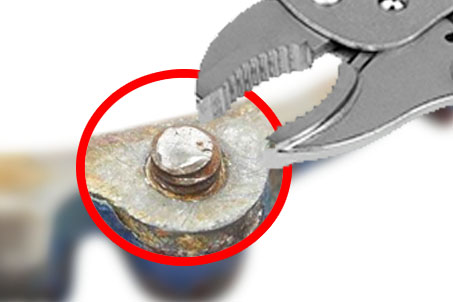
To use locking pliers on an exposed shaft to remove a screw with no head, the main goal is to secure an extremely tight grip on the shaft and twist it counterclockwise.
The process involves a pair of Locking Pliers (ideally with specialised screw-extraction jaws), some penetrating oil, a wire brush for cleaning rust, and a hammer (optional for some shock taps).
Start by cleaning any rust or dirt from the exposed screw using a wire brush, then apply the penetrating oil where the screw is stuck on the surface and let it rest for 30 minutes.
Light tapping using the hammer can help loosen the screw a little.
Next, adjust the locking pliers to fit tightly around the screw shaft and lock them firmly in place.
Grip the shaft straight, and then slowly twist it counterclockwise with steady pressure until the screw comes out.
Double-Nut Method (If Threads Are Exposed)
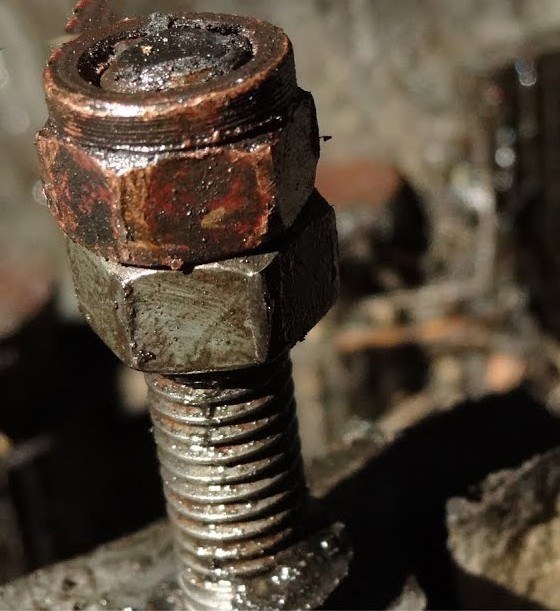
It is a very simple technique: using two nuts, tighten them down far enough, using two wrenches, to secure both nuts onto the stud threads.
While tightening the top nut, loosen the bottom one, doing this simultaneously, to tighten them together and keep them in place.
Once you have done that, use a wrench on the bottom nut and start loosening the stud clockwise till it comes out.
This technique is great when you don’t want to damage the leftover screw stud.
This has gotten me out of some pretty tough spots.
Whether you are installing new screw studs, or even trying to remove the threaded screw studs, this method works fine.
Claw Hammer Lever Method
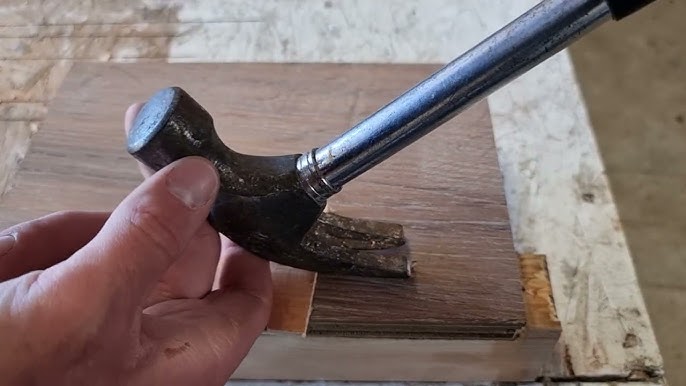
If a bit of the screw is sticking out, a claw hammer can help you pull it out.
Slide the claw under the exposed part and use a small block of wood under the hammer for support.
Gently pull back to lift the screw little by little.
Don’t rush it, as too much force can snap that section of the screw, while keeping the rest stuck.
Keep working it up until you can grip it and remove it fully.
Heat + Pliers (Metal Screws)
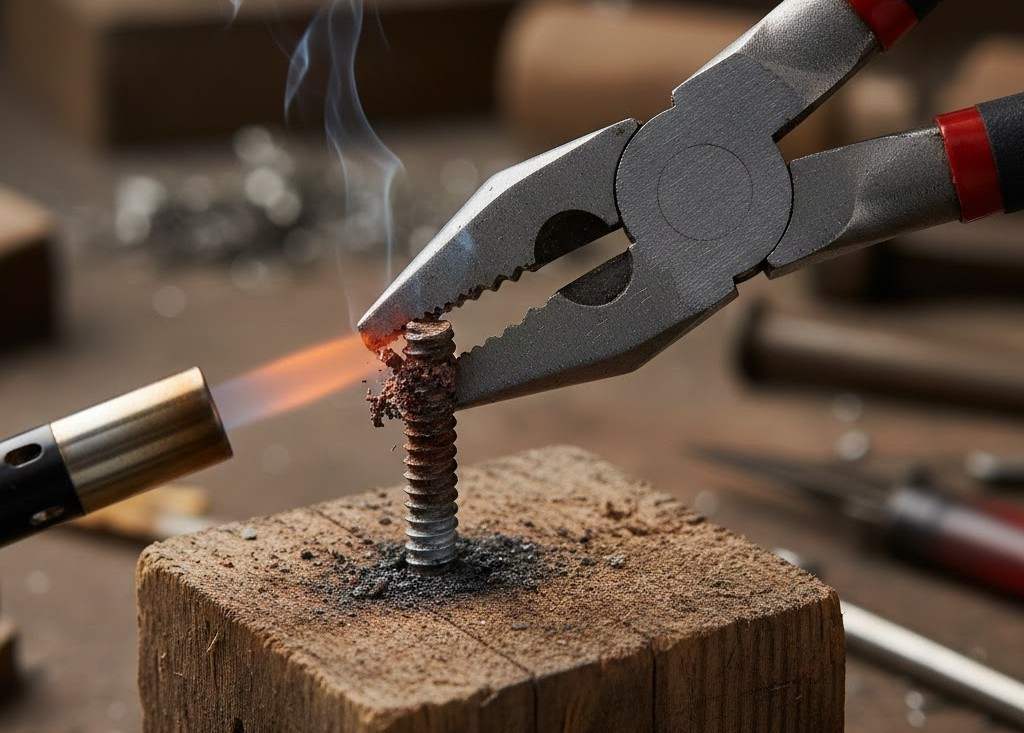
This method works well when rust or corrosion is holding the screw in place, but the head has been severed off.
Apply gentle heat around the screw using a heat gun or a lighter to help loosen the rust bond.
Let it cool for a few seconds, then grip the exposed part with pliers and turn it slowly.
The heat helps the metal expand and release its grip, making the screw easier to remove without any electric drilling.
Penetrating Oil
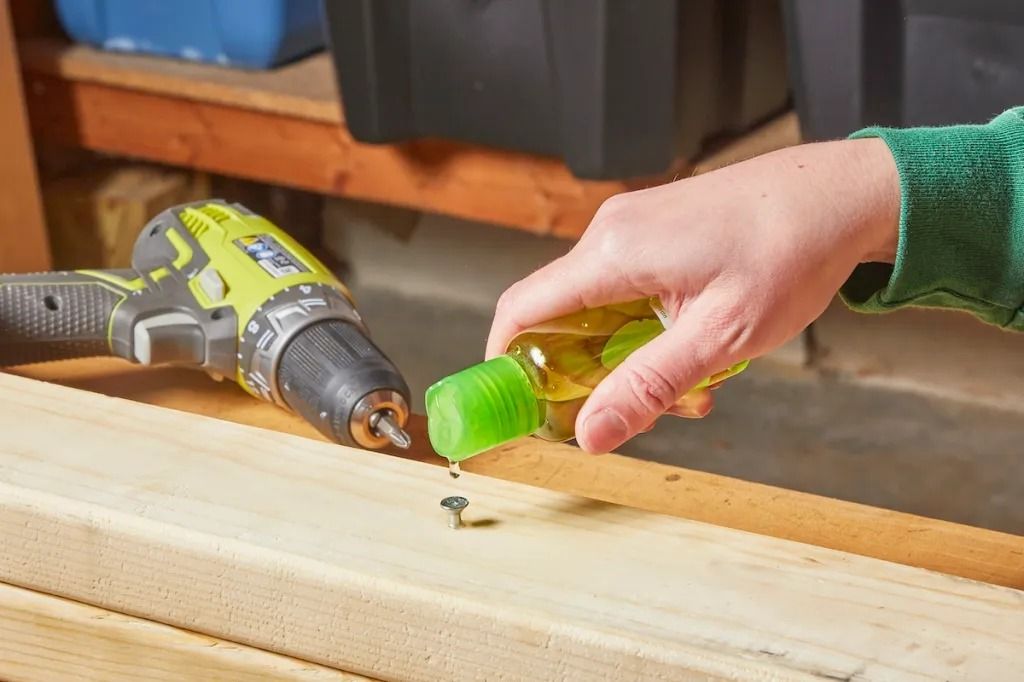
This method is simple but really effective, especially for furniture and fixtures.
Heat the area using a lighter, then apply a high-quality penetrating oil (Deep Creep by Seafoam is a good one) around the stuck screw.
Let it marinate for 30 minutes so that the oil can properly seep into the threads.
Once that is done, grip the screw with pliers and try turning it clockwise slowly.
Patience here makes a big difference.
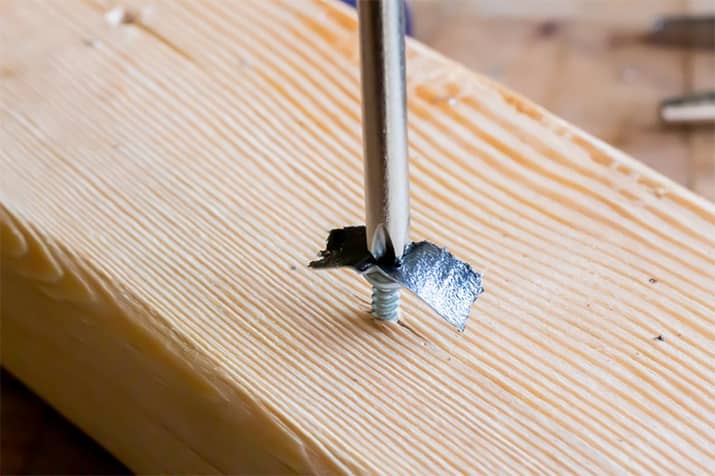
Cut a Slot Into the Shaft
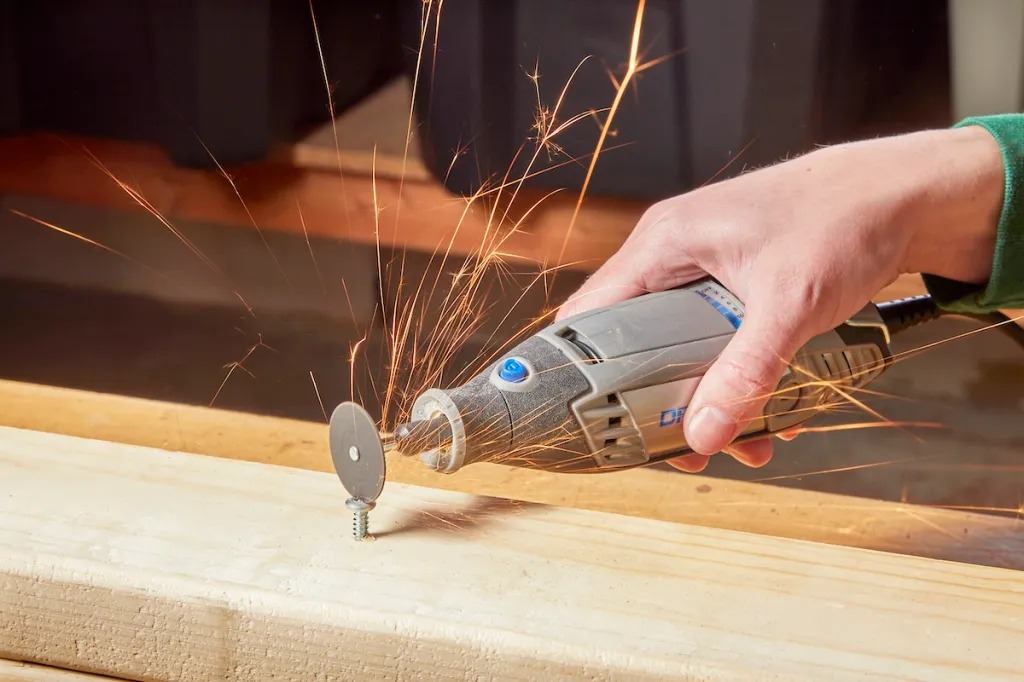
This works only if the screw is sticking out a little.
Use a rotary tool or a small hacksaw to cut a straight slot across the top of the shaft.
Once the shaft is deep enough, place a flathead screwdriver into it and turn clockwise slowly.
Go steady so the slot doesn’t strip. This method avoids drilling but does need the right cutting tool.
Backing the Screw Out by Removing Surrounding Material
This method works best for wood or drywall surfaces.
Carefully remove a small amount of material around the screw so more of the shaft is exposed.
Once you have enough sticking out grab it with pliers and turn it clockwise slowly.
Take your time and remove what is needed.
Punch-and-Turn Method
This method works when the screw isn’t completely stuck.
Place a punch against the side of the screw shaft at a slight angle, then tap it gently with a hammer in a counterclockwise direction.
Each tap helps nudge the screw loose.
Go slow and stay controlled so that the shaft doesn’t bend or snap.
Once it starts moving, you can switch to pliers to remove it fully.
Professional Spark Erosion (Last Resort)
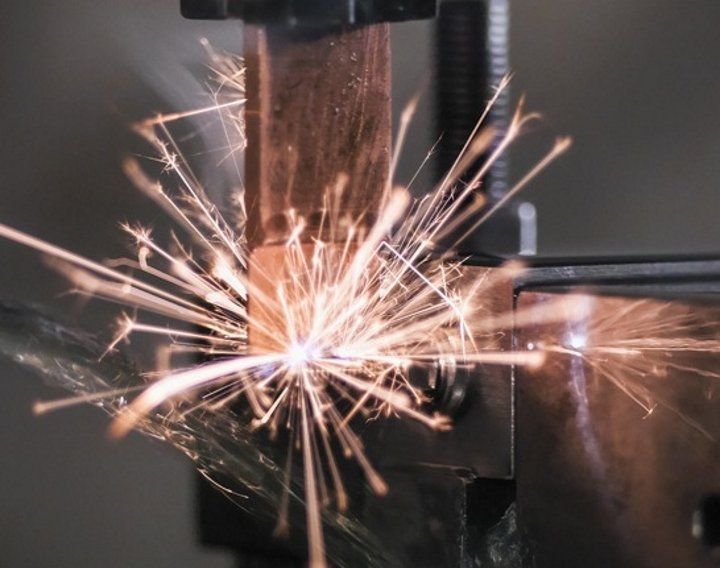
This is a last resort option and not something to try without a professional.
Spark erosion is a professional method where specialised equipment is used to slowly break down the screw without damaging the surrounding material.
It’s usually done by machinists or repair shops and works well when the screw is fully seized or broken flush with the surface.
While it’s very precise and effective, it’s only worth considering for expensive parts or situations where all other removal methods have failed.
How to Remove a Screw with a Stripped Head?
When we talk about screw problems in DIY furniture, a stripped screw and a screw with no head are often mixed up, but they are not the same.
A Stripped Screw still has a head but the slot is damaged, and won’t grip a tool properly.
A screw with no head has nothing to grip at all.
People confuse them because both are hard to remove and refuse to remove manually.
In this section, I will share 7 practical methods I have used over the years on how to remove a screw with a stripped head without a screw extractor safely and minimal effort.
These ideas are meant for everyday furniture fixes, fittings, and light home projects where you want control and clean results.
Before starting anything, basic safety matters.
Wearing gloves protects your hands, and eye protection helps when the screw suddenly loosens.
These methods work best when the screw is not fully seized, and the surrounding surface is still in good condition.
Choosing the right approach based on the screw’s condition, too, can save time and prevent damage.
Pliers for Extra Grip
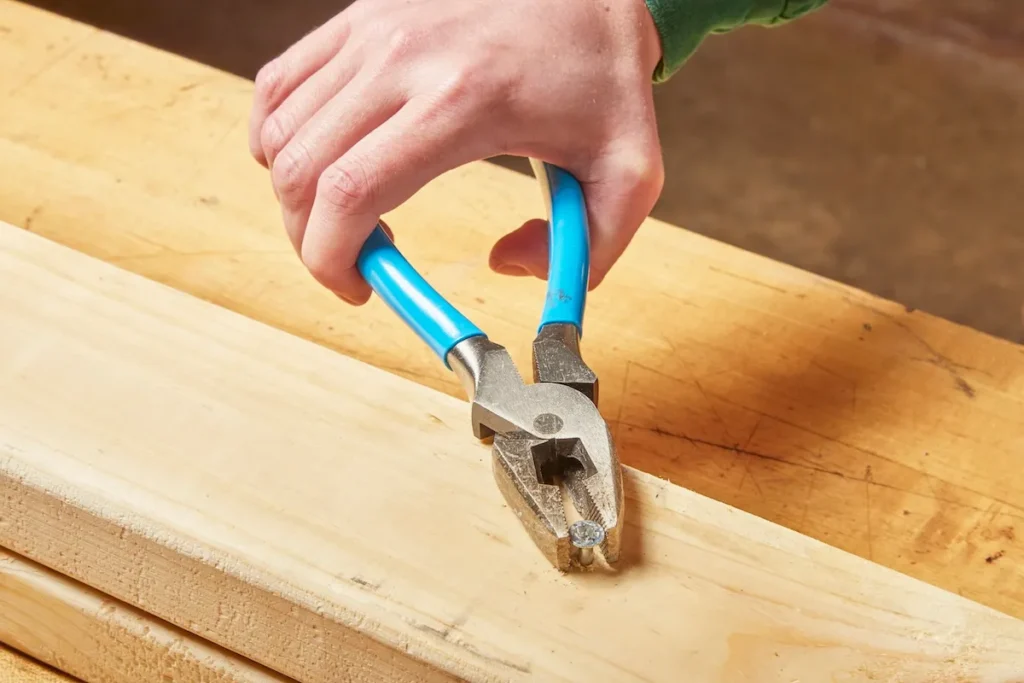
Pliers or Vise-Grips work best when the screw head is even slightly exposed.
They give you a strong grip and better control than a regular screwdriver.
Clamp the pliers tightly around the screw head so there is no slipping.
Once secured, turn the screw counterclockwise while applying steady pressure.
Locking pliers or needle-nose pliers are ideal for this method and often make the removal quick and effective.
Rubber Band Method
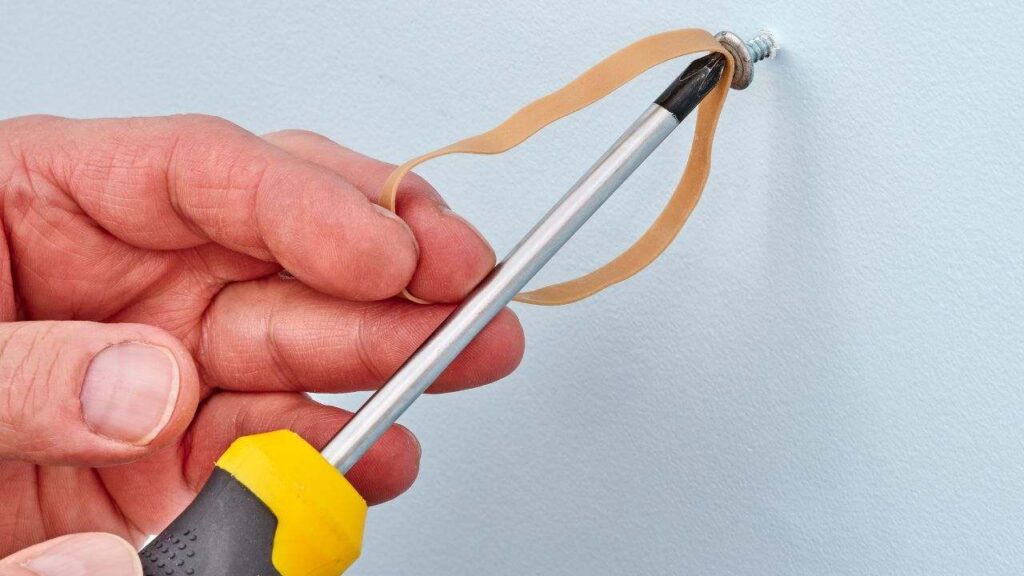
The rubber band method works well when the screw is only slightly stripped and still has some grip left.
Placing a rubber band over the screw head adds extra friction between the screw and the screwdriver.
Press the screwdriver firmly into the rubber band and turn slowly to loosen the screw.
A wide rubber band and the correct screwdriver size can help improve control and prevent further damage.
Drill a New Groove in the Screw Head

Creating a new groove is helpful when the screw head is fully stripped.
By cutting a fresh slot, you give the screwdriver a new place to hold.
Use a cutting disc or a small saw blade to make a straight notch across the screw head.
Then, insert a flathead screwdriver firmly into the groove and turn slowly.
Take care to protect nearby surfaces and wear safety goggles.
Flathead Screwdriver and Hammer Technique
This method works well on the soft materials when the screw head is worn but still has some metal left.
By gently tapping a flathead screwdriver into the screw head, you create a new groove for the grip.
Place the screwdriver at an angle, tap it lightly with a hammer, then turn counterclockwise.
Move slowly and wear safety goggles to avoid damage.
Left-Handed Drill Bit
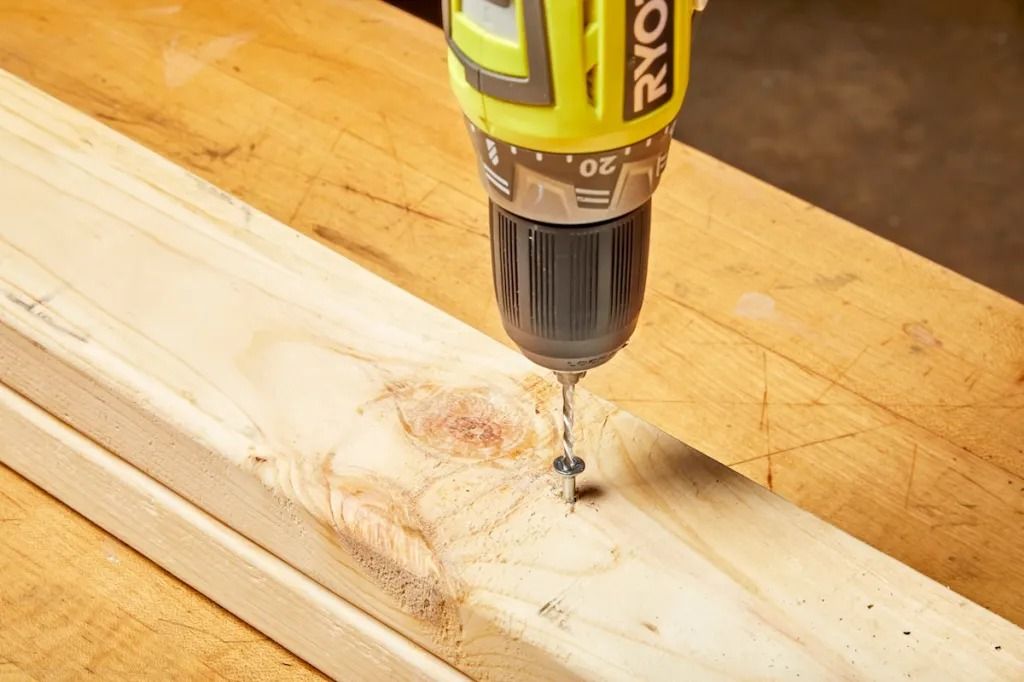
Left-handed drill bits are useful because they rotate in the opposite direction of regular bits.
As the bit digs into the screw, it often loosens the screw at the same time.
Start by making a small pilot hole, then switch to a left-handed drill bit and apply slow, steady pressure.
In many cases, the screw backs out on its own during drilling.
It is always recommended to wear safety goggles to protect yourself.
Superglue Method

This method can help when the screw is only lightly stripped and still has some shape left.
The glue creates extra grip between the screwdriver and the screw head.
Apply a small drop of superglue to the screwdriver tip, press it firmly into the screw, and let it sit.
Once dry, turn the screwdriver slowly and carefully to loosen the screw.
Duct Tape
Duct tape can be useful when you are dealing with a headless or a badly worn screw and do not want to use a drill.
The tape adds extra friction and helps the screwdriver catch what little surface is left.
Place a small piece of duct tape over the screw area, press the screwdriver firmly into it, and rotate counterclockwise, with a slow, steady pressure.
This method works best for lightly damaged screws and quick fixes.
What to avoid When Dealing with Screws with No Head
A screw with no head usually happens when the tool slips, the metal is soft, or the screw is forced past its limit.
Once the head is gone, you are stuck figuring out on how to remove a screw with no head without a drill.
This is messy and time-consuming on real home projects.
In my interior designing work, I have learned that it is smarter to slow down during installation and use the right tool.
It is much easier to prevent head damage than to learn how to remove a screw with no head without a drill after the screw is already buried in wood or even concrete.
Here are some practical tips that can help prevent the head from getting destroyed.
- Use the correct screwdriver size:
The tip should sit deep and snug in the head. If it wiggles, it will slip and grind the head down. - Apply strong pressure downwards:
Press straight down while turning, especially at the start. This keeps the tio seated and stops cam-out.
- Avoid power tools on soft materials:
High-speed can jump, slip, and chew the head in seconds. Start by hand, then finish gently. - Use penetrating oil for rusted screws:
Let the oil soak, then try slow, controlled turns. Less friction means less chance the head will twist or snap off.
Conclusion
So that’s all for the guide on How to remove a screw with no head without a drill!
I hope it’s now a bit easier after knowing the right steps for tough DIY fixes.
In this guide we covered why headless screws and stripped screws are hard to deal with, where they commonly show up in furniture repair, DIY, and home improvement work, and why no-drill methods are often the easiest choice.
We also walked through what a screw with no head really means, what causes it, and also shared multiple practical ways to handle screw with no head removal, along with safety basics.
We also shared how different materials need different approaches and how to deal with a stripped screw when extractors are not available.
Most importantly, the prevention tips help reduce future problems, so you do not have to keep searching for how to remove a screw with no head without a drill every time.