Brass has been used in homes, furniture, and also in decor.
You’ll commonly find aged brass on kitchen cabinet handles, door knobs, light fixtures, and other decorative accents.
Good thing is, this age brass look can be created artificially.
That’s exactly why so many people want to learn how to age brass and achieve that authentic timeless charm.
I remember my mother being one of them – she would often tell me that aged brass adds warmth, character, and a sense of history that brand new metals often lack.
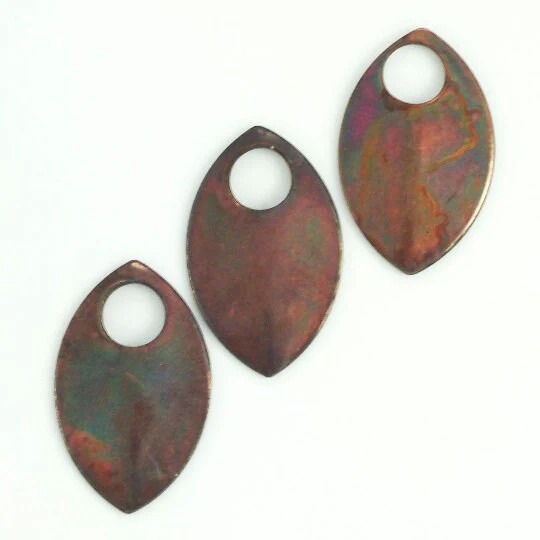
When we talk about aging brass, its about creating a worn-out, antique-style surface called patina.
It forms naturally over time as brass reacts with air and moisture, but it can also be created artificially.
This process gives brass a darker, uneven finish that feels authentic.
In this guide, we will walk through the process of how to age brass hardware using safe, practical methods.
We’ll go over both methods natural and artificial, like using brass ager and what materials or techniques you can use to achieve consistent results at home.
How Brass Ages: Natural Patina vs Artificial Finish
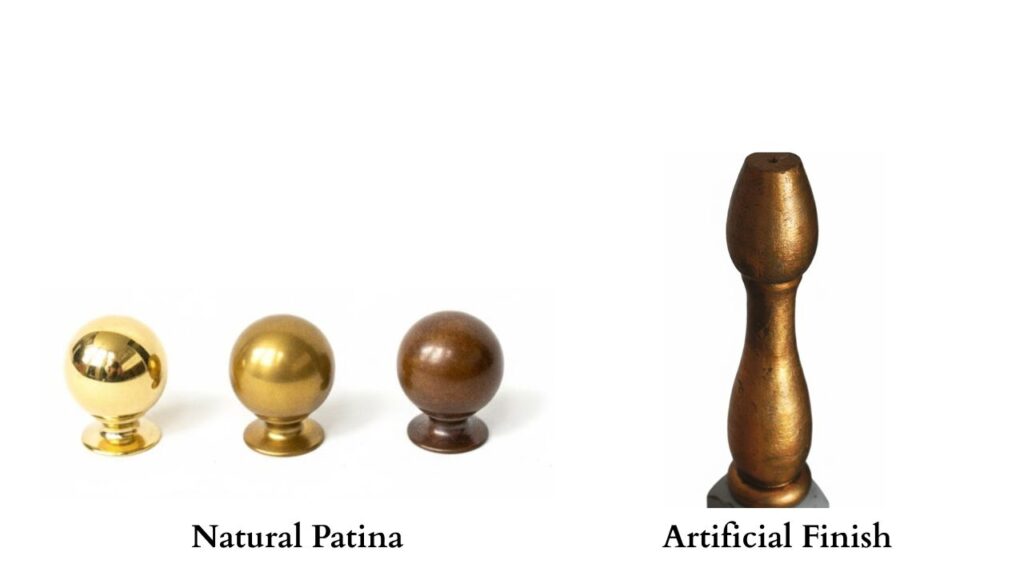
To understand how to age brass, we need to know what brass aging actually means and how it happens.
Growing up, I often noticed how older brass items at home looked richer and warmer than any newly bought items.
This kind of aesthetic always has a way to add charm to our home, making them lived in.
Brass changes slowly as it reacts with air, moisture, and regular use.
Over time, this reaction creates a surface layer called patina.
This change happens naturally over the years, with brass shifting from a bright, golden tone to deeper browns and soft shades. And no, this doesn’t mean the brass is damaged.
The metal remains strong and the surface marks tell a story of use and the test of time it went through.
That’s why aged brass often has more value than polished brass which can sometimes feel a tad bit sharp to the eyes.
Recently, home decor enthusiasts have started exploring artificial methods like Brass Ager coffee, with baking soda, and all.
These artificial methods are faster than natural processes as they help in aging the brass fixtures and other decorative elements like brass lamp, handles, and other brass plated hardware.
How To Age Brass at Home using 8 Proven Methods
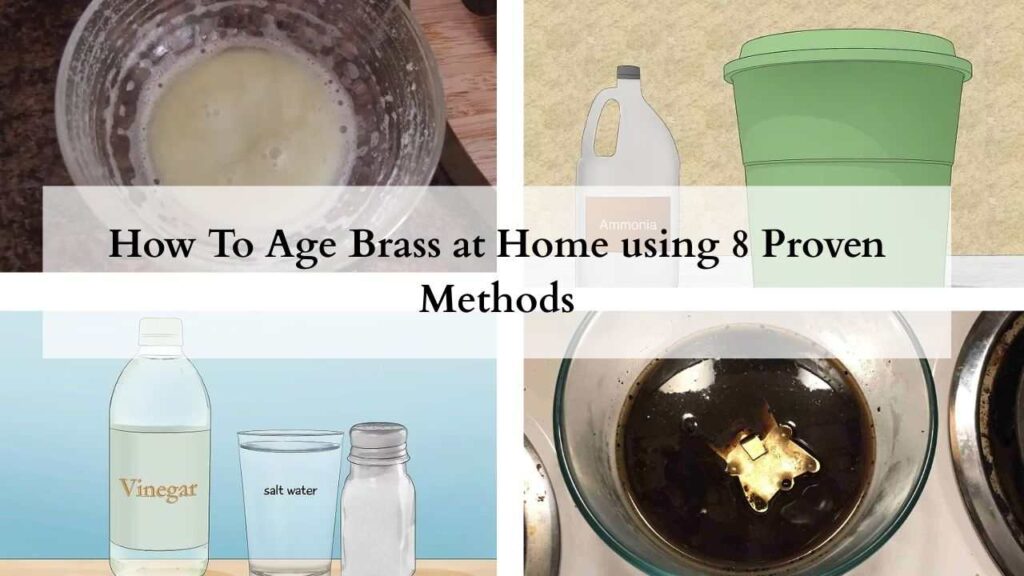
To understand how to age brass at home, the next step for you would be choosing the method first.
There is no such one particular method that gives perfect results, so you can just use any method as per your convenience. Some methods work slowly while some mimic the effect of working quickly for aging it.
You can start small and test on a smaller item – a bathroom fixture, or a doorknob, and adjust the process accordingly.
Whatever item you are working on, these methods help you stay in control of the final look.
And the best part of these methods is that most of the ingredients can be easily found in your kitchen pantry, so you don’t even have to spend money on purchasing these items.
Aging brass with Coffee
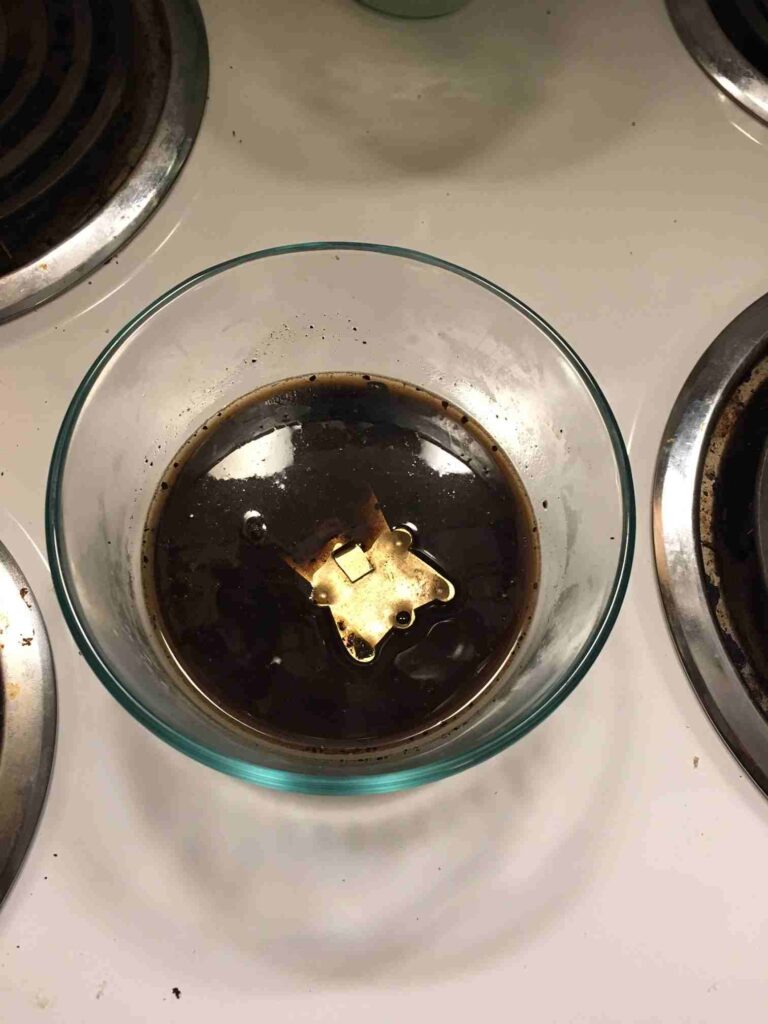
You can also age brass with coffee – the natural acids in wet coffee grounds help create a natural-looking patina on the brass.
You will need used, wet coffee grounds, a brass item, and a plastic container to hold them.
Just place the container on a surface, put the dry brass item inside the container, and rub your coffee grounds on the dry brass item for a couple of minutes, and close the lid.
Let the mixture work on the item for 24-48 hours.
How to age brass with baking soda
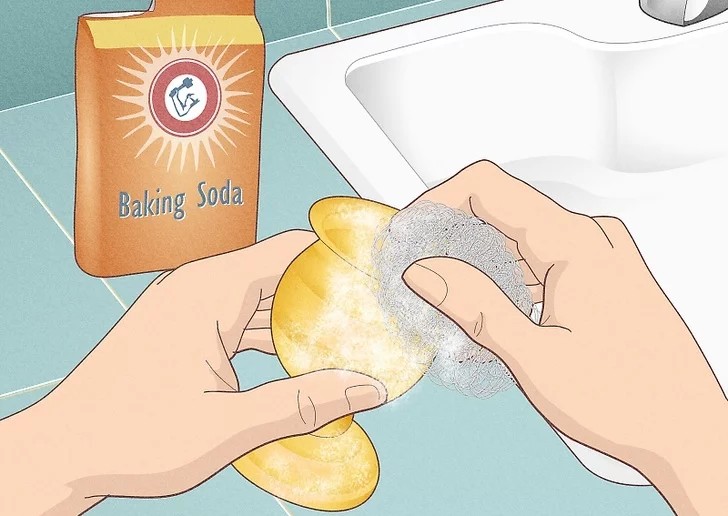
There are multiple household items you can use to clean with baking soda, and aging brass is one of them.
Just mix 1 cup of water with 2 tbsp of baking soda to create a thick paste.
Then apply the mixture on the brass item and scrub it with a steel wool.
Leave it on for 15-30 minutes and then wash it with arm water and a dry towel.
This helps to age brass quickly and can give a soft, muted look to the item.
How to age brass with ammonia
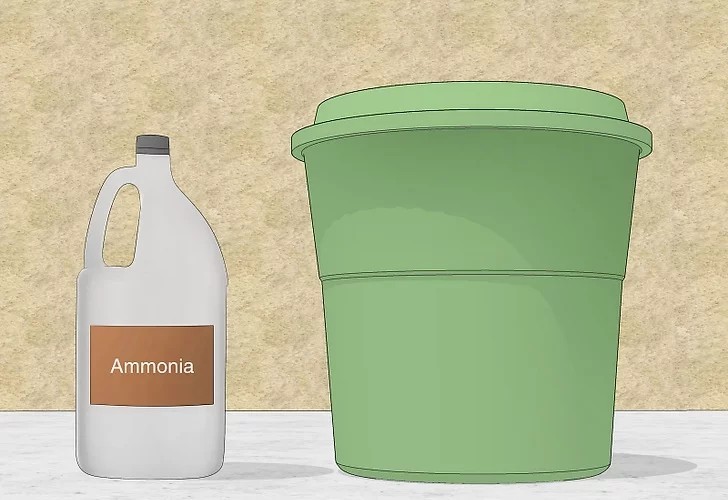
If you want the patina to be a bit more intense, use ammonia.
Though for this, I would highly suggest doing it outdoors, as the ammonia smell is really strong.
You will need the ammonia mixture, an old plastic container (one that you have no problem throwing out), and the brass item.
Now, just pour the ammonia mixture into the plastic container, place the brass item (do not fully submerge it, just gently place it), close the lid, and leave it for a couple of hours.
A darker and deeper patina will form within a few hours.
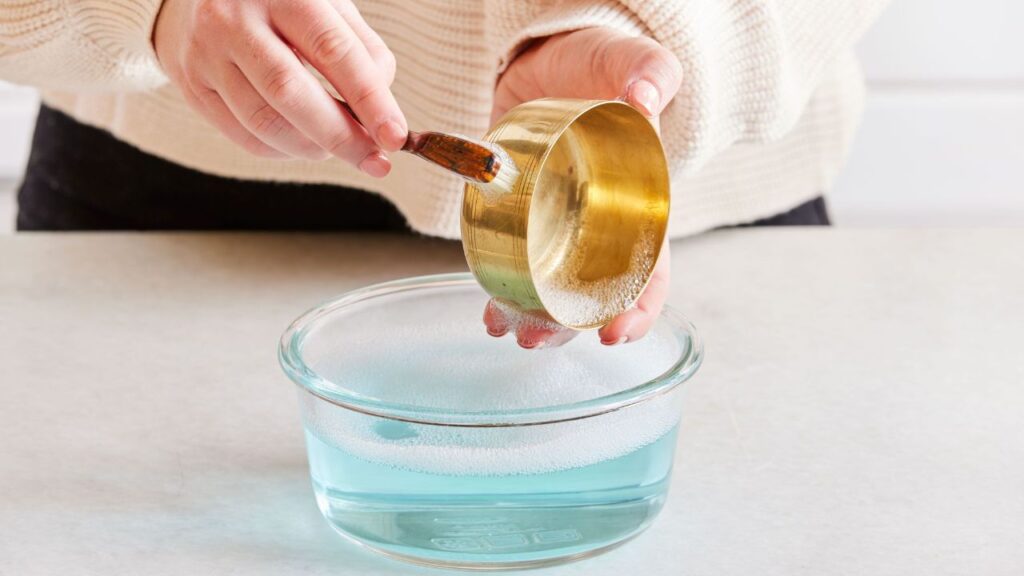
How to age brass with vinegar and salt
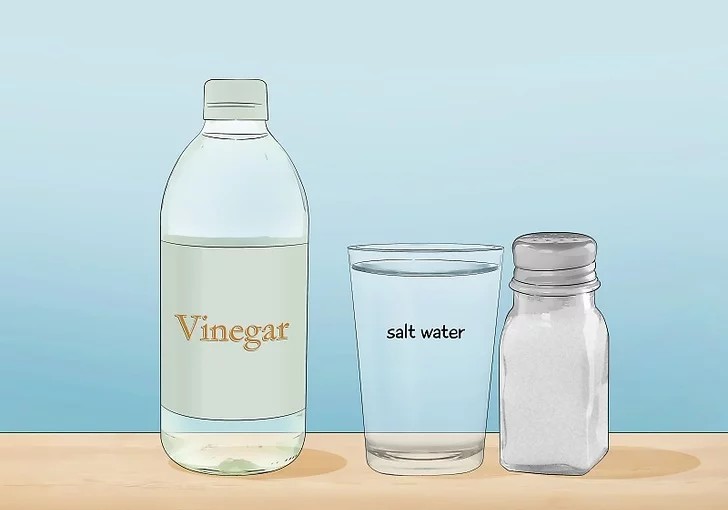
The combination of vinegar and salt is always a sure-shot way to age brass naturally.
These ingredients are always available in your pantry, and the process is really easy.
Just mix 1 part white vinegar with 1 tsp of salt, and spray the mixture on the brass item.
You can also use steel wool to scrub the mixture properly on the item.
Once you have done so, leave the mixture on for a couple of hours or even overnight, depending on how light or dark you want the patina to form.
Just remember to not mix bleach with ammonia for brass.
Aging brass with hydrogen peroxide

Aging brass with hydrogen peroxide involves using it as an oxidizer in a DIY solution.
Simply mix hydrogen peroxide with white vinegar and salt to create a fast, aged patina by speeding up the natural tarnishing.
Mix 16 ounces of Hydrogen peroxide, 2 ounces of White Vinegar, and ½ tbsp of Salt.
Use this mixture on dry brass, let it sit for 30-40 minutes, and then rinse it off with warm water.
Aging Brass by Burying It in Soil
This was something I learnt through my mother.
Whenever she wanted to age brass but felt lazy to use any kitchen ingredients, she would just dig up in our kitchen garden and bury the items in the dirt, and left thm for a few weeks.
After 2 weeks, she would dig them back from the dirt and gently wipe away the dirt and grime using warm water and table cloth.
She always told me that the moisture, the dirt, and the outdoor elements would speed up the oxidation process, and the brass items would get this beautiful, weathered patina look to them.
Using Liver of Sulfur for Fast, Dark Brass Patina
If you want a darker patina on your brass within minutes, this is the thing to go to.
It is a chemical that can be found at your nearest craft stores or even online.
Just mix a small piece of it with water and gently rub it over the dry brass item.
But since the oxidation process is very quick with this, the patina can get really black extremely quickly, so just be super quick in removing the paste.
Aging Brass with Chalk Paint for a Vintage Look
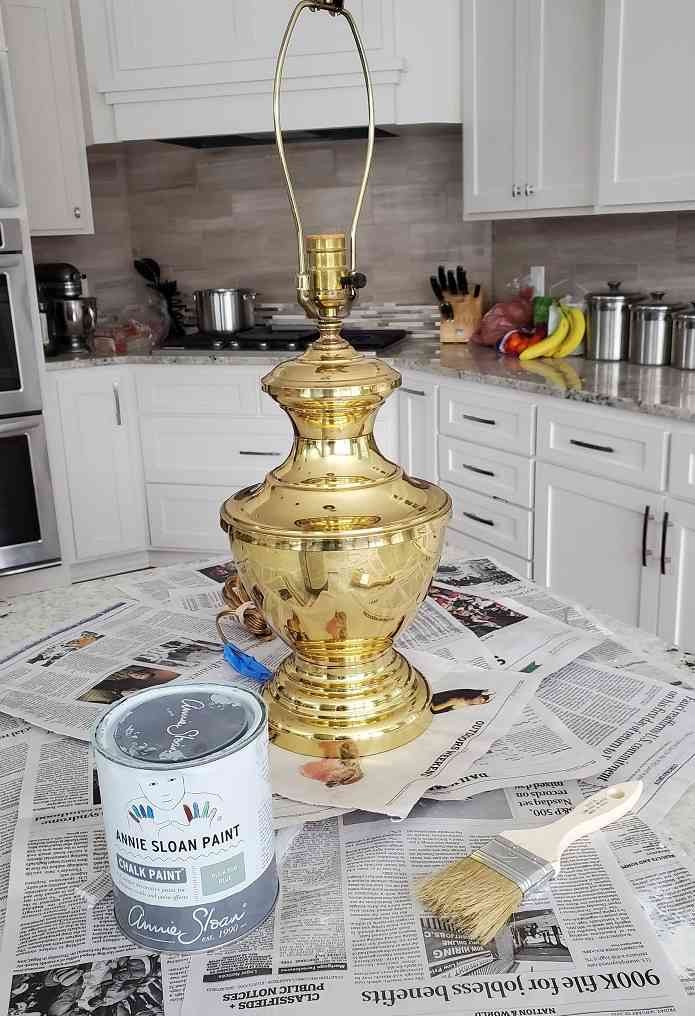
Another hack my mother gave me was to use chalk paint over dry brass.
She would just gently paint the chalk paint mixture lightly over the dry brass and leave it for a couple of hours.
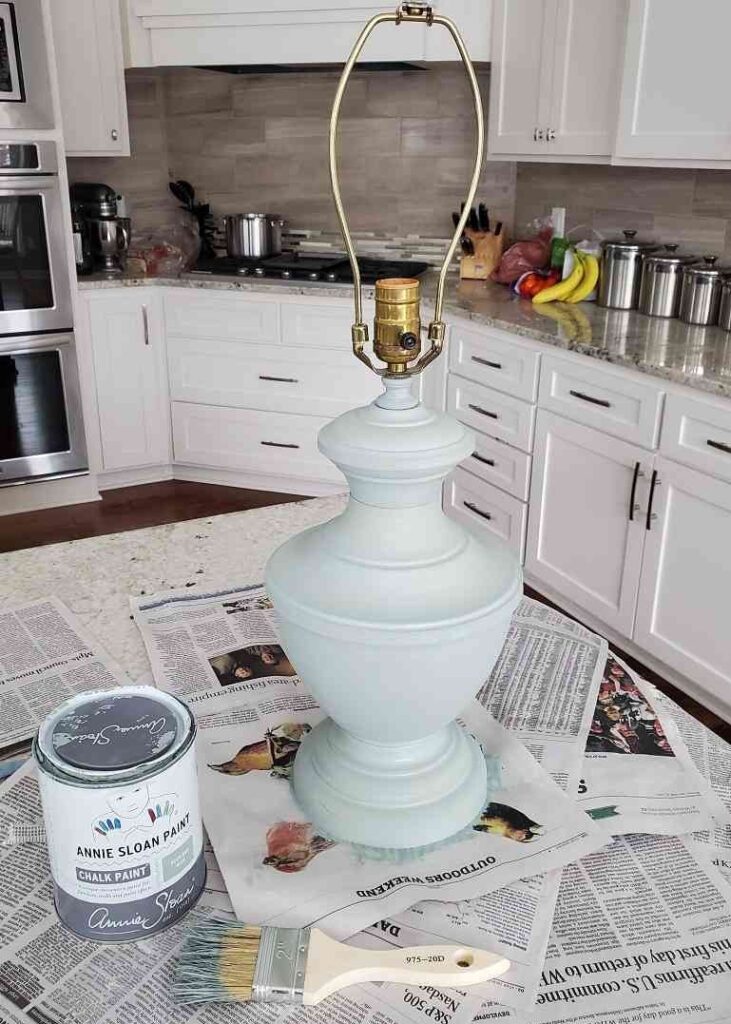
This technique imitates the weathered look and gives a very aged yet unique feel to the item.
How to Age Brass Successfully? A Step-by-Step Process
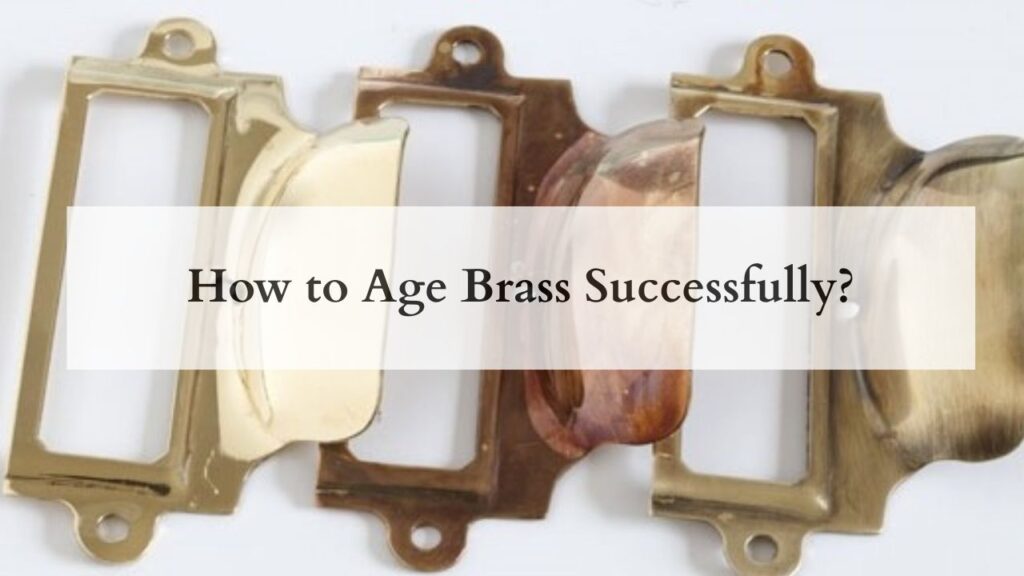
Aging brass is a slow, messy process, but highly satisfying.
I love the fact that we can use so many ways on how to age brass, and each method is extremely affordable for homeowners.
What makes learning how to age brass extremely enjoyable is that you do not need to rush it.
You can check the color and decide if you want the patina color dark or light.
Every brass piece reacts differently, making the process more personal.
Now, let us explore the method of using vinegar and salt in detail and discuss the process in depth.
Step 1: Clean the Brass Carefully
This step always feels basic, but it matters more than people think.
Clean the brass with warm water and mild soap to remove grease, dirt, and old polish.
I like taking my time here because clear brass reacts better in the application and waiting stage.
Dry it fully using a soft cloth.
Skipping proper cleaning of brass before using any other product can lead to patchy color and uneven aging, which can ruin the aged brass look.
Step 2: Prepare the Aging Solution
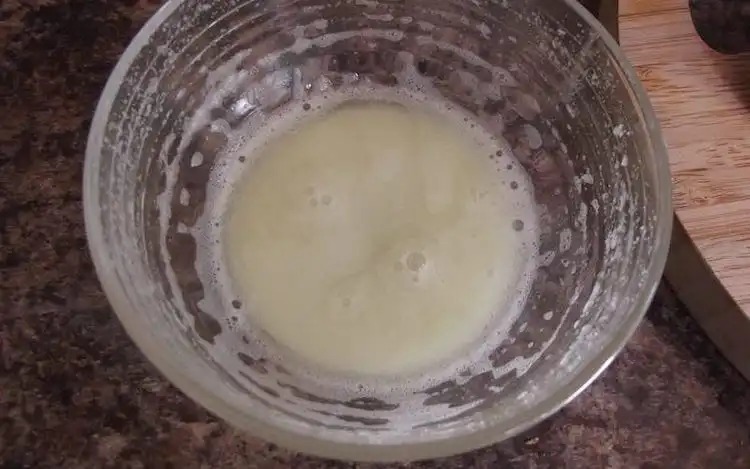
Now this is slightly tricky, but still can be done in control.
Just mix 1 part white vinegar with 1 tsp of salt in a plastic container.
Make sure that the container is not too tiny so that the brass item can properly react to it later.
This step is important because using this method, you age the brass in an easy manner.
Step 3: Apply and Wait
This part is equal parts scary and even fun to do with kids.
Just gently apply the entire solution to the brass area and let it sit for a couple of hours.
You can do your grocery run, watch a movie or two, while the combination is working its magic on the brass.
Step 4: Rinse and Dry
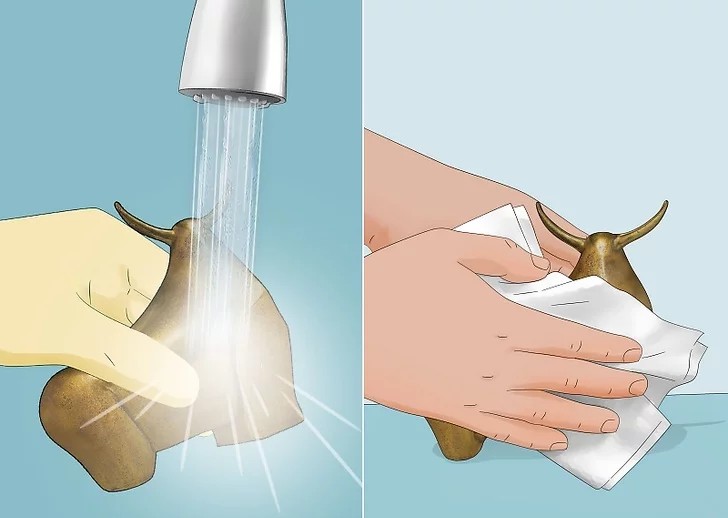
After, say 3-4 hours, quickly take out the brass and rinse it with warm water to stop the reaction.
Dry it gently, and please do not rub aggressively, as that will ruin everything.
I usually let the piece rest for some time before using it in my home.
The color settles slowly, and that final tone looks better after leaving it overnight.
Common Brass Aging Mistakes That Ruin the Finish
When homeowners first try how to age brass, mistakes usually happen because of impatience and less effort.
I have also made multiple mistakes in the beginning of my career, expecting quick results.
Aging brass works best when you let the metal react on its own time with the solution.
Rushing the process often leads to finishes that feel forced.
Another common mistake that people make is over-aging. You might feel tempted to leave the brass item in the solution for longer hours, hoping to achieve a darker patina.
Instead, this can damage the surface and make it look dull and blotchy.
Using harsher chemicals can also ruin the surface of the brass item, so one should be careful while trying to buy such items.
Skipping the brass preparation is also a big mistake when understanding how to age brass.
Not cleaning the brass item properly before starting can block the reaction and lead to uneven patches.
Taking a few minutes extra to clean, test, and observe makes all the difference.
Aging brass should feel intentional, not stressful, and small steps help you get there.
Conclusion
Learning how to age brass is more about patience and less about perfection.
As I mentioned before, each and every piece reacts differently to every method and that unpredictability is what makes this process so rewarding.
With time, you’ll just begin to trust your gut and eye.
So just slow down and let the brass tell you when it feels right.
What I love the most about aging brass is how approachable it is.
You do not need expensive tools or need to spend thousands of dollars on items to make the solutions.
With basic home ingredients and a little care, you can turn everyday brass items into one that feels warm, familiar, yet gives a sophisticated look to your home.
It is one of those rare DIY projects that can teach you how to learn from your mistakes.
Once you feel confident with the brass aging process at home, it becomes easier to experiment around.
Whether it is a doorknob, a handle, or a decor piece, aged brass adds a quiet charm to your furniture.
And to me, that makes it completely worthy of trying.